


Presented on Maven on July 2, 2026. This is a companion document and summary of the talk with prompts. I’m also running a 5 week course to learn how to create quality videos for kids, starting in July. Use code FRIENDS for 35% off.
What Google Flow is and where to find it
Flow (https://labs.google/fx/tools/flow) is a tool from Google to access their animation and image generation models. You do not need to download anything. It runs in the browser.
Flow is part of Google Labs (https://labs.google/). It’s a whole collection of generative AI tools worth playing with just to get a feel for what’s possible.
If you want to follow along in your own account, note that Google recently changed a number of the plans, so it is worth checking current tiers before you commit. A reasonable way in is to start on a lower tier, use the credits you already have to get a feel for it, and increase from there once you know how deep you want to go.
Ways to create with Flow
Flow gives you multiple entry points for making content. They trade off speed against control. Down at the bottom of the screen is your prompt box, and within it are selection boxes where you set image vs. video, sizing, and model. Each model displays its credit cost, so you always see what a generation will spend before you commit.
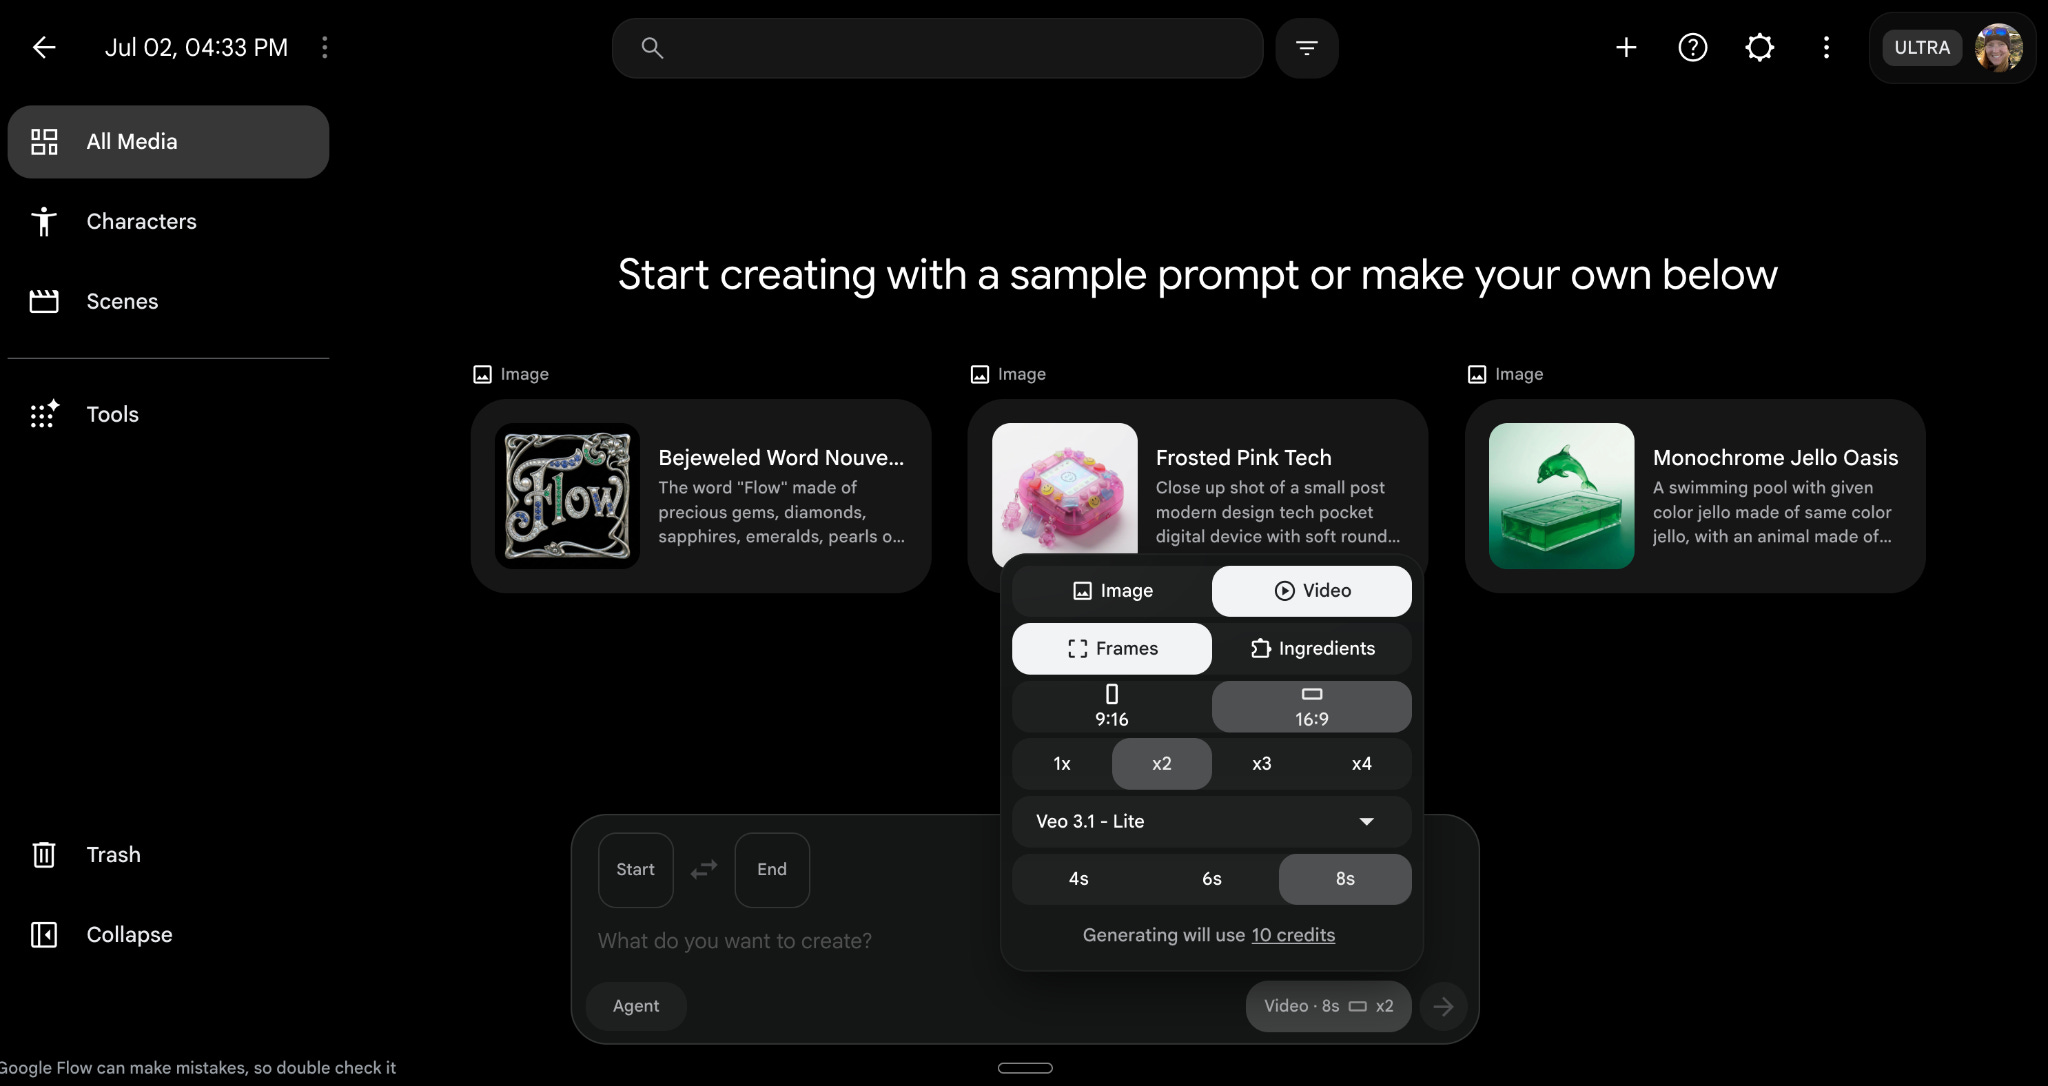
Text to Video. Write a prompt, choose a video model, generate. The result is built entirely from your text. This is the fastest way to get something moving, but you give up control over the exact opening frame.
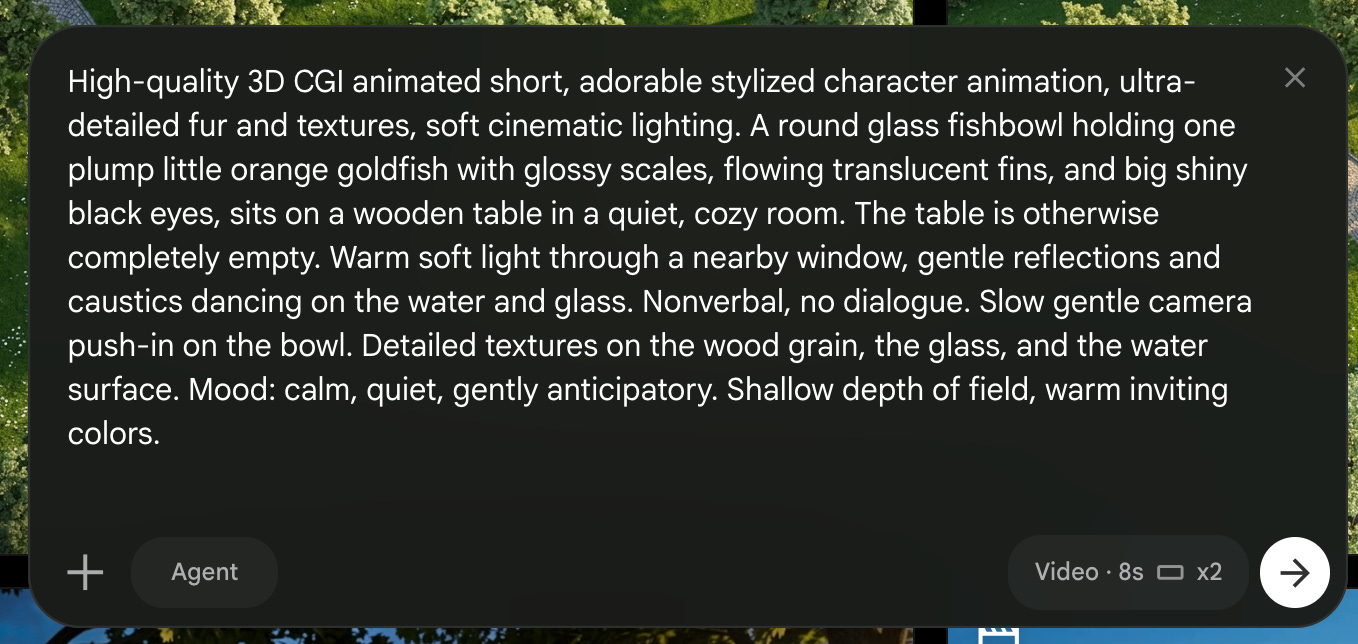
Image to Video with a starting frame. Flow uses a still as the literal first frame of the clip. The animation begins exactly on that composition and moves outward from it, so whatever you see in the frame (angle, lighting, character position) is precisely where the shot opens. Use this when the entry point of the shot matters and you want the motion to originate from a known, fixed image rather than something the model invents.
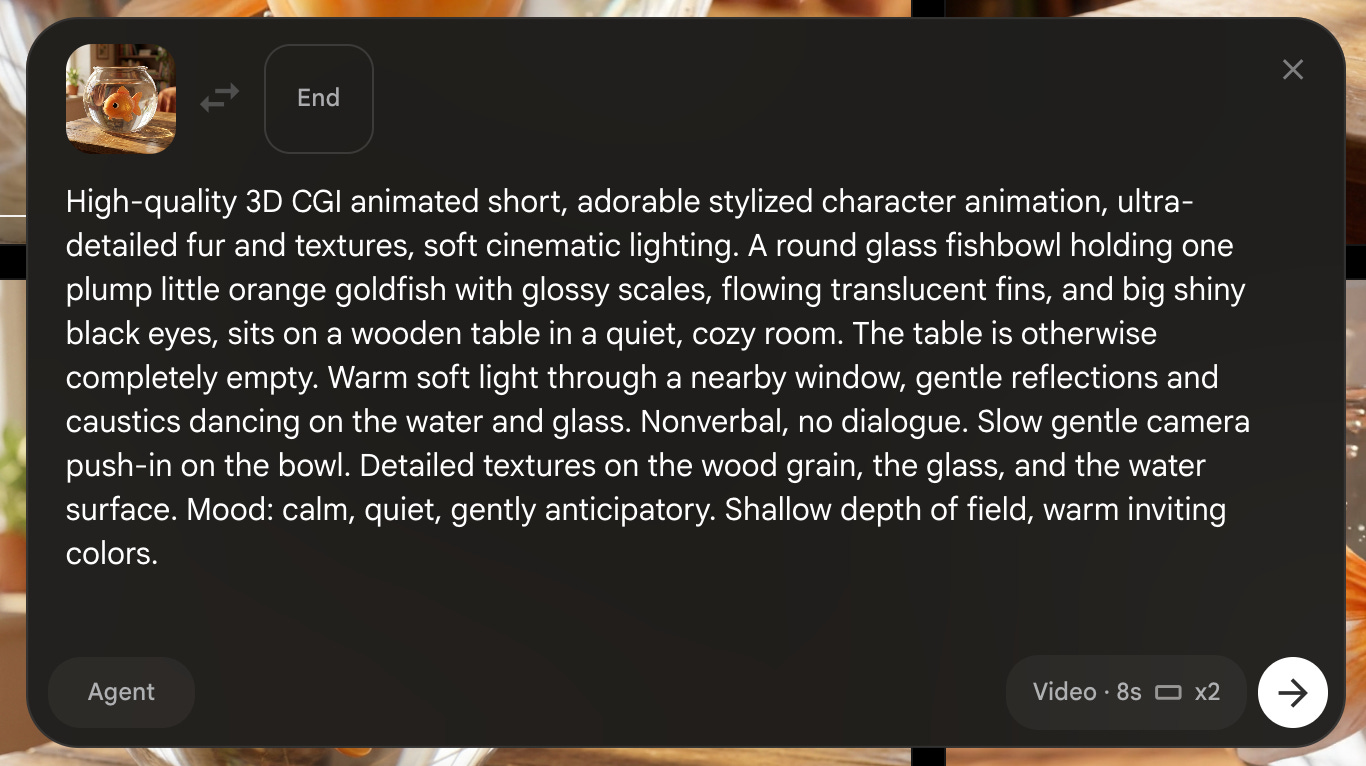
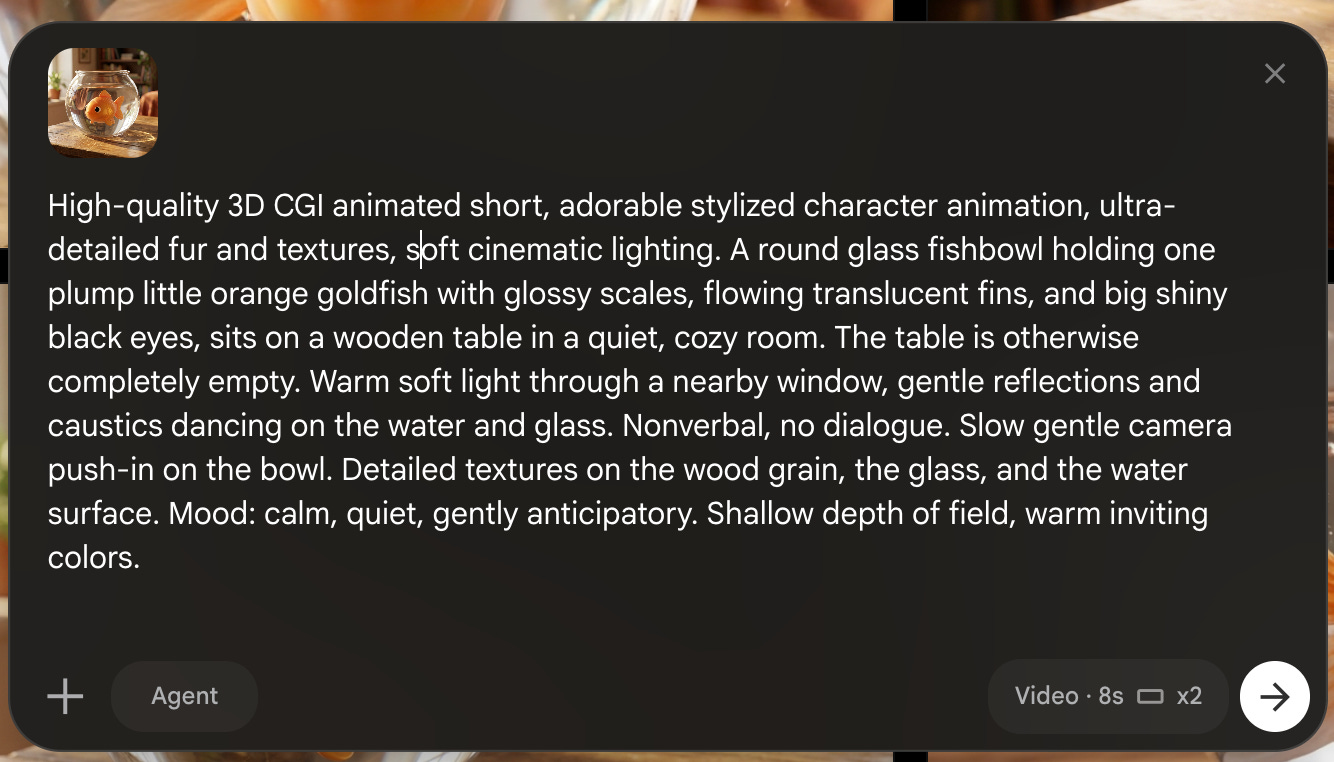
Image to Video with ingredients. Here your images act as references the model draws on rather than as the opening frame. You supply one or more “ingredients” (a character, a prop, a setting, a style) and the animation incorporates them without being locked to any single starting composition. The model has freedom to place and move things, using your references to stay consistent on what appears rather than dictating the exact first frame. Reach for this when you care that the right character or look carries through the shot but you’re flexible on how the shot opens and frames itself.
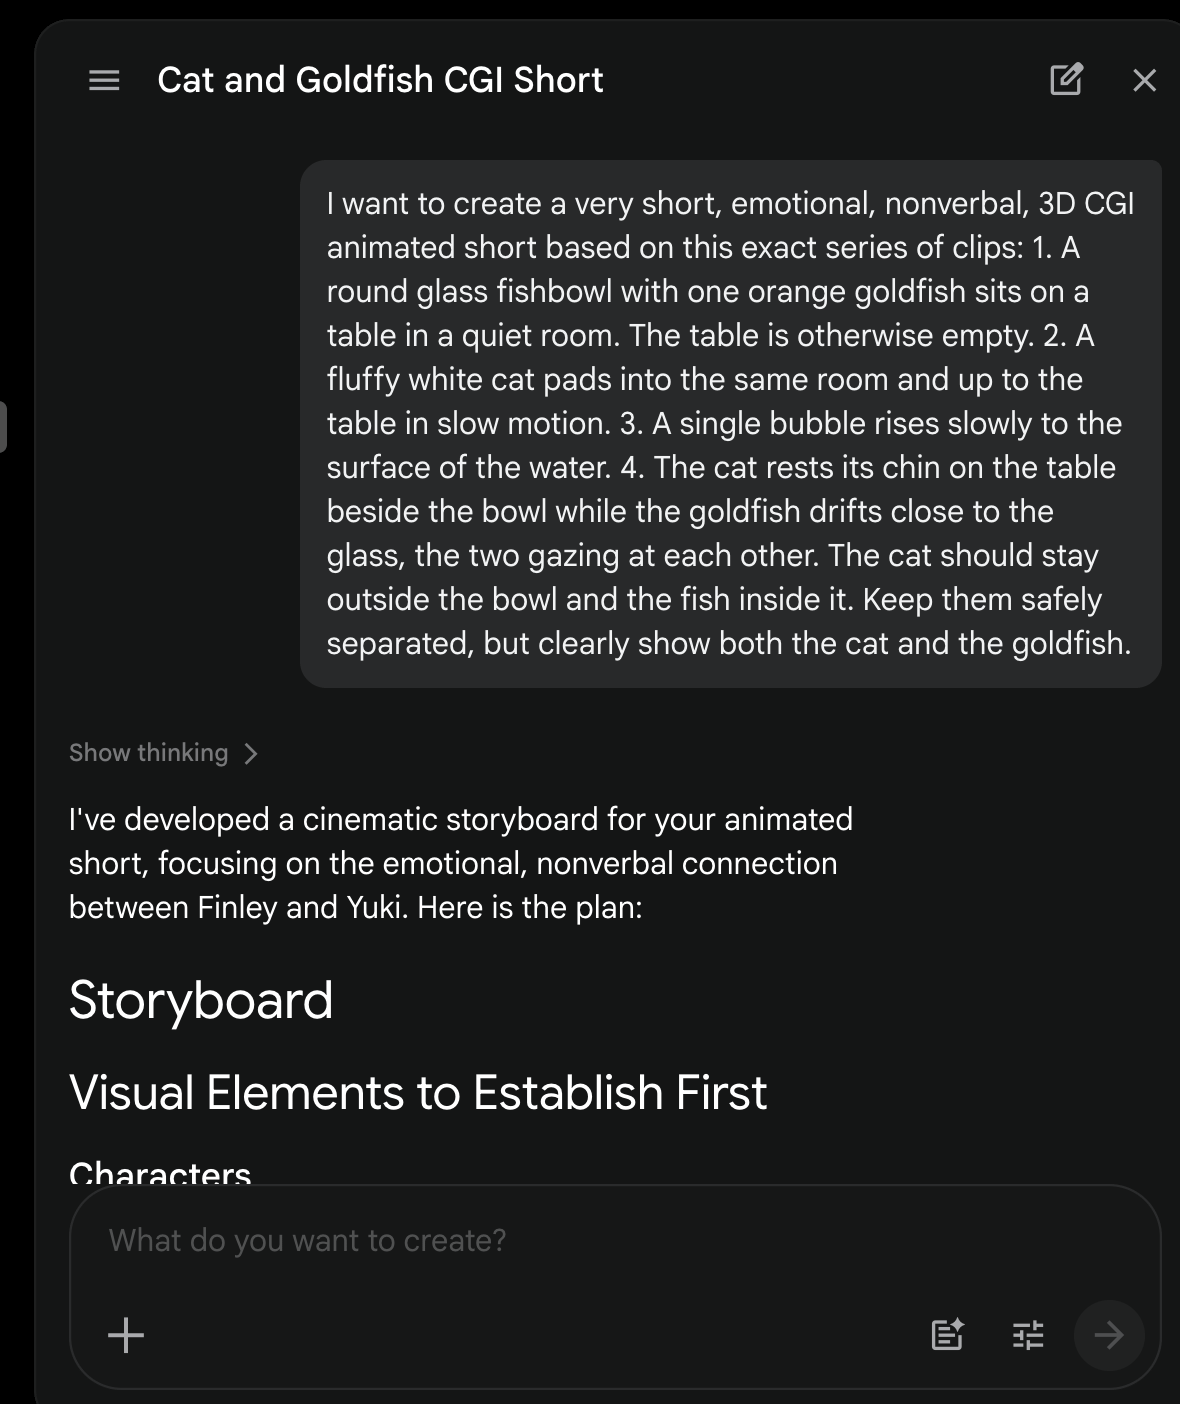
With the Agent. Flow has a built-in agent powered by Gemini, the same way Claude, Gemini, or ChatGPT work conversationally. The agent option can create individual images and videos or handle more complex prompts, like developing a storyboard and animations. As with any agent-led experience, it is still hit or miss if you give it too much room to run. (There’s no magical one stop prompt.)
Creating consistency
When you generate clips separately, each one is an independent roll of the dice. Nothing guarantees the fish stays the same shade of orange from shot to shot, or that the living room keeps the same layout. Left unmanaged, this is the single most common way a sequence starts to look disjointed.
The fix is reference images. Hover over any generated video and you’ll see a small icon that saves that frame out into your workspace. That saved frame becomes an anchor you can attach to the next prompt (via “add to prompt”), so the room, the character, and the color palette carry forward instead of being reinvented each time.
Reference images reduce drift but don’t eliminate it. Check images careful to make sure propose don’t disappear or change size/position. It’s possible an image will need changes or even need to be re-generated.
Consistency isn’t automatic, it’s engineered by carrying references forward and by writing prompts precise enough that the model has less room to wander.
Generation Costs
What it costs
Google Flow works through a Google AI subscription. Depending on the plan, you’ll have some amount of generations available in Flow.
If a plan gives you, say, ~2,000 credits and you average ~20 credits per generation, your effective cost drops well under a dollar per clip.
You can also access the video generation models through APIs (direct to google or via tools like Fal.ai) or through third-party tools (Runway, Magnific, etc). Third-party tools will be more expensive because you’re paying for the API access as well as some overhead for the company. I prefer to work directly through the model providers when possible to help manage costs.
Flow Tools and Personalizing Them
On the left side of any folder, near the bottom, is Tools, split into two tabs: Discover (tools Google built and ships) and My Tools (ones you create). Discover is where you’ll spend time early on, both to get work done and to see what’s possible. There’s a wide range of tools, but these are the ones we looked at in the workshop.
Shot Explorer. Solves a problem you hit constantly: you have one angle of a scene and need more. Select an image, choose the views you want (overhead, zoom in, “surprise me”), pick a model, and it generates alternate angles of that same scene. It’s a hybrid of the agent and reference images, and the output is genuinely usable as coverage or as an opening shot you hadn’t planned for.
Type Overlays. Lets you place a title on a video with adjustable timing and font. This is a very common use case since AI image generation tends to struggle with text. So you can start to see how these tools can be built to meet your needs. But the execution isn’t there yet on this particular tool. It’s punishingly slow to render. Until that improves, do titles in Canva or a real editor.
Resizer. A common use case is converting aspect ratios, like 16:9 to 9:16, which this tool addresses. The catch for this out of the box tool is that it has no true subject tracking, so your subject can drift out of frame. That limitation is exactly what makes it a good candidate for remixing or personalizing the tools.
Remixing (or Vibe Coding) Tools
Discover has all sorts of tools (and more to come). It’s worth spending time exploring and using tools. If you find yourself thinking, “I wish it did this,” then that is your signal to remix.
Hit Remix on any tool and Flow makes an editable copy with a chat window where you describe the change you want in plain language. This is vibe coding, and a few things are worth knowing up front.
The tool is only as good as your description. It helps to brief it like a junior engineer who will execute your request literally, so be specific. Ask Gemini or Claude to help with product phrasing if needed.
It’s inconsistent, a prompt that worked a minute ago can come back flagged, and re-running it sometimes just works.
It will “help” by changing things you didn’t ask it to touch, which is why you save versions as you go, so you can roll back and try again.
Flow runs in a contained space with no access to your desktop or Drive. Unlike vibe coding on your desktop (where a tool can reach your files if you grant access) or Gemini (which can reach Google Docs), you cannot do this in Flow. You can sometimes upload specific files like images, but that’s the limit.
A good practice is to make one change at a time so bugs can be resolved before you move on to the next feature. Or if you’re feeling brave (or want to see what it does) request multiple things at once!
Remixing the Resizer
To address the smart reframing option in the Resizer tool, I started a remix of the tool and entered this prompt.
Add a smart reframe option so that when the video is reframed from 16:9 to 9:16, the character stays in view. Don’t just hold the center of the frame, smartly follow the character.
It worked for a bit and provided a revised version where you select the source, choose “smart character follow,” it analyzes the subject, and you export a vertical clip that tracks the action instead of cropping blindly. However, during the workshop, the export option was not saving to the gallery. I’ve since fixed that bug (remix here), though there’s plenty of fixes I would like to make to the tool if I were to use it more!
Cost of Remixing
Vibe coding vs video generation are effectively two meters, both Google’s, but tracked separately.
Gemini text/tokens cover everything conversational, prompting, editing, exploring tools, remixing, refining. This pool is much cheaper than video.
Video generation credits are the counter in the upper corner that ticks down only when you actually generate images or video.
Exploring and remixing tools doesn’t burn video credits, right up until you press the button that generates an image or clip. That makes the editing and Gemini side a low-cost place to experiment. Build, test, and refine your tools all you want, you only spend the expensive credits when you commit to generating actual footage.
Remixing Storyboard Studio
Storyboards are the backbone of any visual storytelling: they keep you organized, show the arc at a glance, and let you work out pacing before you spend credits on animation. Storyboard Studio is Flow’s closest provided tool.
It moves through three stages: Script → Assets → Storyboard. It does not animate on its own. It will auto-fill characters, locations, and props by reading the script.
If you try this tool, you’ll likely quickly run into a wish list of features. I did! So I’ve now evolved my way to a storyboarding tool that is customized to my own personalized flow.
Features you might want to try adding.
Editing an image instead of regenerating it: You like a composition and want one small change, but the only option is to regenerate from scratch
Prompt (in natural language): In Storyboards, add an option to provide notes to edit the existing image rather than regenerating it.
An additional stage that animates the storyboards.
Also add a tab with animation capability that uses the storyboards and the script to create prompts. I should be able to submit each animation individually or submit all of them for batch processing.
Building your own tools from a feature list
Remixing modifies an existing tool. But you will likely have unique needs that are not met by the current tools, even with modification.
Instead you can have Flow build new tools from scratch through vibe coding and a feature list, written the way a product manager would spec it (or natural language). This is where personalization pays off most, because you’re no longer bound to how Google framed a tool, you’re defining exactly the workflow you want.
Go to Tools and then click on Create Tool (or navigate to My Tools and click the plus button). An agent dialogue will appear.
A natural language storyboard studio could look like this
I need a tool where I provide a prompt like the following and have this tool translate it into the various stages of assets, storyboard, animation.
I want to be able to auto generate each category (so press a button to generate all of the assets, press a button to generate all of the storyboards, press a button to generate all of the animations).
I need to be able to download all of the animations.
I need to be able to see and edit the generation prompt for each.
And I want to be able to provide feedback on a specific image/video and have it edited (not just regenerated).
Sample prompt: I want to create a very short, emotional, nonverbal, 3D CGI animated short based on this exact series of clips: 1. A single scoop of pink ice cream sits perfectly on a cone, held up against a blue summer sky in a sunny park. 2. A small child in the same sunny park beams with pure joy, reaching up toward the cone in slow motion. 3. A single drip of pink slides down the side of the cone. 4. The child looks down at an empty cone in one hand and a splat of pink ice cream on the pavement, lip trembling. The child should not be standing in the ice cream. Keep them safely separated, but clearly show both the child and the splattered ice cream.
Or you can make a more formal list of requirements
Create a tool to manage all aspects of production, script, assets, storyboards, and animation. It should include
Media Input & Session Management
Gallery Integration: A “Select Image” workflow to pull starting frames from the Media Gallery.
Source Preview: A staging area to view the active reference image being used for the next generation.
Session Reset: A global reset to clear the workspace and start a new session.
Shot Choices
Clustered Controls: A sidebar with list of camera movements, pressing each one starts a new generation
Perspective choices to changes the physical viewpoint (Overhead/Bird’s Eye, Side Profile, Back View).
Pan choices - simulate horizontal or vertical camera sliding (Left, Right, Up, Down).
Zoom choice (Zoom In, Zoom Out, Extreme Detail, and a “Surprise Me” macro mode).
AI Generation
A toggle between speed and quality: Fast: Uses the Nano Banana 2 model for quick iterations. Pro: Uses the Nano Banana Pro model for high-fidelity cinematic results.
Reference-to-Image: Uses the source image as a visual anchor to maintain scene consistency across different angles.
Async Feed: A non-blocking results column that allows users to trigger multiple “shots” in parallel while tracking generation progress via loading indicators.
Result Feed
Actionable Image Cards: Every generated shot is an interactive unit containing
Re-fire: Re-runs the specific preset logic (useful for variations).
Save to Gallery: One-click export to the Flow Media Gallery.
Prompt Inspector: An expandable metadata view to see the exact text instructions sent to the AI.
History Management: Capability to delete individual results to prune the session feed.
You don’t need technical scaffolding (SDK details and the like), and you can run a rough list through Claude or Gemini first to help flesh it out into something complete. The promise of vibe coding is that you can simply describe what you want. At the same time, a clean and clear prompt will yield better results.
It will take iteration. I sometimes break the work into chunks. So I might give the agent the full context of the feature list, but then ask it to focus on a particular section first. Then once that’s working, I continue building. This might take a bit longer but tends to minimize bugs and issues.
My Production Pipeline
This is an overview of how I use Flow tools in my production process.
1. Rough out the script (me). This is the human-judgment step. I decide what the piece is, what happens, and why it matters before any model touches it.
2. Develop it into a full storyboard with Claude (or Gemini). Turn the rough script into a complete storyboard in a consistent markdown format that I’ve evolved for my preferences. It generally includes the script, the starting-image prompts, the video prompts, and any voiceover.
3. Generate and edit all assets inside a custom Flow tool. I upload the markdown into a tool that reads the script, pulls out characters, builds the storyboards, and produces the animations. I review stage by stage and shot by shot. Once everything is approved, I bulk-download the results, named systematically (”shot 1, shot 2,” and so on) so they’re ready to assemble.
4. Assemble in a code-based editor. I import that the clips into a custom Remotion-based editor. Remotion is a code-driven video SDK, so an assistant like Claude can build a metadata file that pulls in the videos, and I drive final assembly through an interface where you adjust links, add transitions, and add text. In effect it’s a web-based editor shaped to exactly my use case.
Two expectations to set. With established characters and content, this pipeline produces a 3–5 minute episode in about 90 minutes, longer when you’re developing something new from scratch. And getting the tooling to that state is itself an investment, roughly six days of on-and-off work to build, plus ongoing tweaks. The payoff is speed and consistency on everything you make afterward.
Go Play!
The more you play with the tools, the more they’ll make sense. So go play. Start with the tools that already exist, like Shot Explorer and Storyboard Studio, generate some shots, and get a feel for how the models respond. The moment you think “I wish it did this,” open Remix, describe the change in plain language, and try it.
And let me know how it goes! Find me on LinkedIn or Substack. Email is carla@hippopolka.com.
Blue skies,
Carla
Extra: Demonstration Prompts
These are animation prompts used during the workshop (a short scene involving a cat and a goldfish). For more on how to prompt, please see the How to Animate with Google Flow workshop.
The prompts are written for animation but can be shortened to create starting reference images.
Prompt 1
High-quality 3D CGI animated short, adorable stylized character animation, ultra-detailed fur and textures, soft cinematic lighting. A round glass fishbowl holding one plump little orange goldfish with glossy scales, flowing translucent fins, and big shiny black eyes, sits on a wooden table in a quiet, cozy room. The table is otherwise completely empty. Warm soft light through a nearby window, gentle reflections and caustics dancing on the water and glass. Nonverbal, no dialogue. Slow gentle camera push-in on the bowl. Detailed textures on the wood grain, the glass, and the water surface. Mood: calm, quiet, gently anticipatory. Shallow depth of field, warm inviting colors.
Prompt 2
High-quality 3D CGI animated short, adorable stylized character animation, ultra-detailed fur and textures, soft cinematic lighting. In the same cozy quiet room, a small fluffy white kitten with thick soft fur rendered in fine detail, big round curious blue eyes, tiny pink nose, soft rounded cheeks, and delicate whiskers, pads softly into the room and up toward the wooden table in dreamy slow motion. Each strand of fur catches the warm window light, tiny paws stepping gently. Nonverbal, no dialogue. Camera follows low at floor level, emphasizing the kitten’s small size and soft movement. Mood: sweet, curious, tender. Shallow depth of field, warm inviting colors.
Prompt 3
High-quality 3D CGI animated short, adorable stylized character animation, ultra-detailed textures, soft cinematic lighting. Extreme close-up inside the round glass fishbowl, the plump little orange goldfish with glossy scales, flowing translucent fins, and big shiny black eyes drifting softly near the glass. A single glistening bubble rises slowly to the surface of the water in slow motion, catching the warm light. Nonverbal, no dialogue, delicate and quiet mood. Just out of focus beyond the glass, the small fluffy white kitten is faintly visible approaching. Macro detail on water, scales, and bubble, shallow depth of field, subtle sense of a gentle moment approaching.
Prompt 4
High-quality 3D CGI animated short, adorable stylized character animation, ultra-detailed fur and textures, soft cinematic lighting. In the same cozy quiet room, a small fluffy white kitten with thick soft fur rendered in fine detail, big round curious blue eyes, tiny pink nose, soft rounded cheeks, and delicate whiskers, rests its chin gently on the edge of the wooden table beside the round glass fishbowl. Inside the bowl, the plump little orange goldfish with glossy scales, flowing translucent fins, and big shiny black eyes drifts close to the glass. The two gaze softly at each other. The kitten stays fully outside the bowl and the fish stays safely inside it, clearly separated, both fully visible in frame. Nonverbal, no dialogue. Emotional, tender, heartwarming mood. Medium close shot showing both the kitten and the goldfish, warm soft light, gentle reflections on the glass, shallow depth of field, warm inviting colors
Agent Prompt to Create All Four at Once
I want to create a very short, emotional, nonverbal, 3D CGI animated short based on this exact series of clips: 1. A round glass fishbowl with one orange goldfish sits on a table in a quiet room. The table is otherwise empty. 2. A fluffy white cat pads into the same room and up to the table in slow motion. 3. A single bubble rises slowly to the surface of the water. 4. The cat rests its chin on the table beside the bowl while the goldfish drifts close to the glass, the two gazing at each other. The cat should stay outside the bowl and the fish inside it. Keep them safely separated, but clearly show both the cat and the goldfish.


